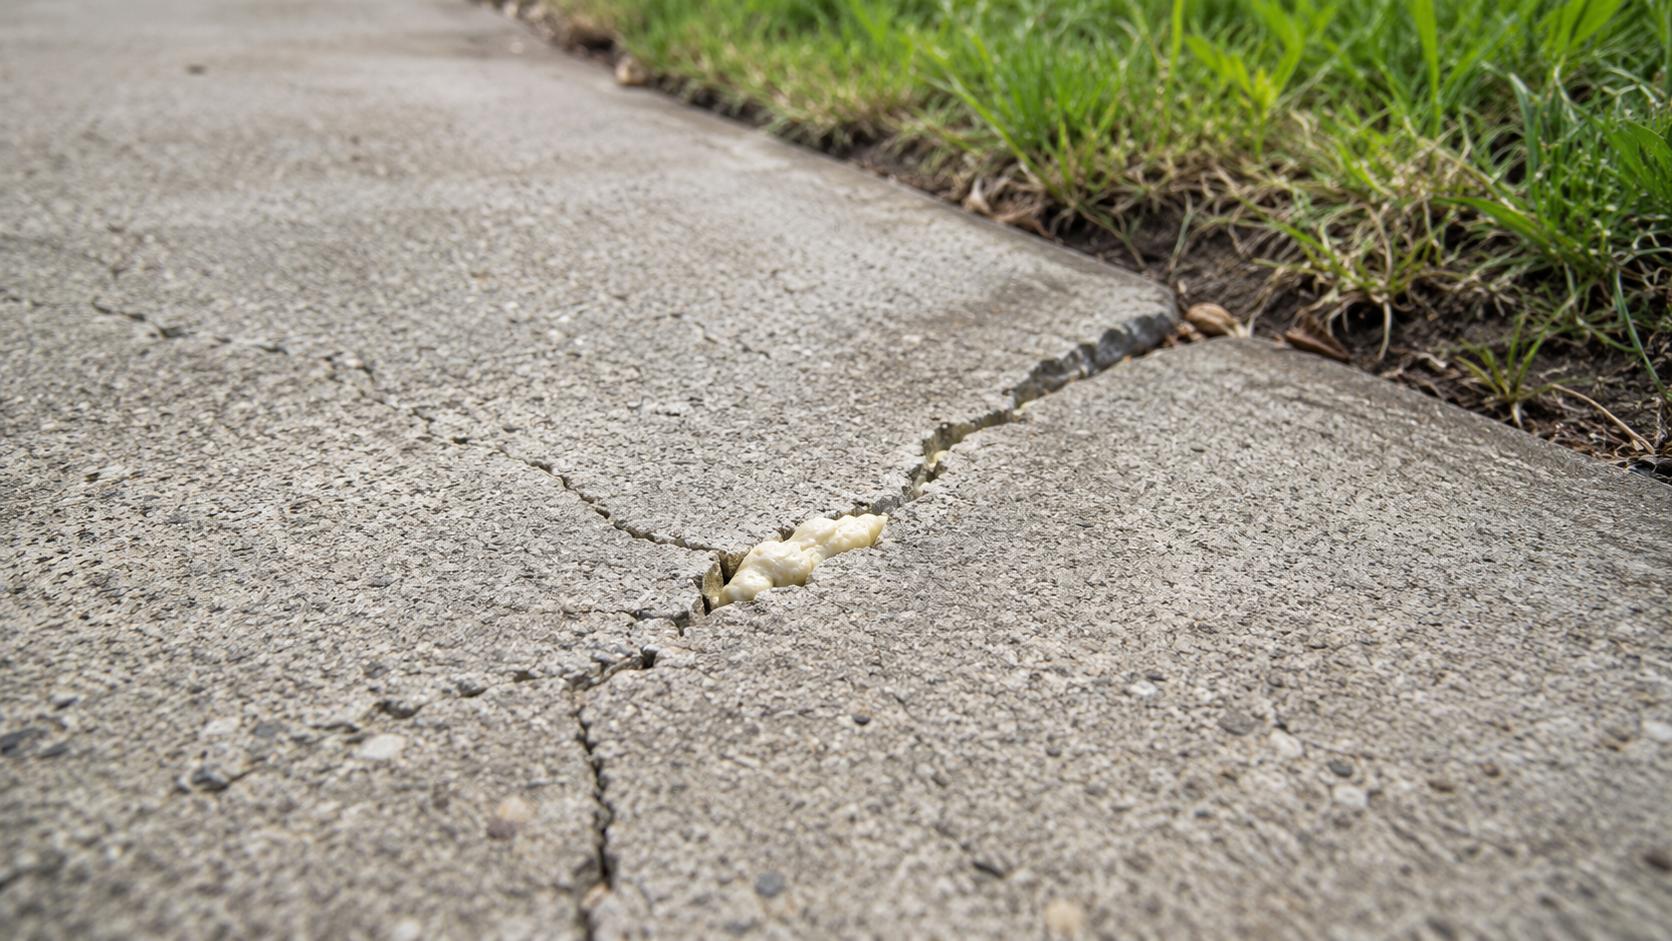
You step out the side door one morning and notice the patio has dropped half an inch along the house wall, leaving a gap where rainwater now pools against the foundation. Maybe it is the driveway instead, where one slab has settled below its neighbor and left a lip that catches your snow shovel every winter. Or the garage floor dips right at the seam where it meets the apron, and you have watched that crack widen over two wet seasons. These are not rare problems around here. From Abbotsford to Sardis, settled concrete leaves homeowners assuming the only fix is jackhammers, dump trucks, and a week of torn-up yard. Most of the time, it does not have to go that way.
I am Marcus, and I run the concrete restoration side of Black Birch Contracting. Instead of tearing out and replacing heavy slabs, we drill a few small holes, inject expanding polyurethane foam underneath, and lift everything back to grade, often in a single afternoon. If you have seen "concrete lifting" or "sunken concrete repair" mentioned in local Facebook groups, this is the technique people are talking about. This article walks through exactly how we do it, from the first site assessment to the last sealed hole. If you want the deeper material science, we have a companion piece on how polyfoam expands and seals.
What Polyfoam Grout Actually Is
Polyfoam grout is a two-part polyurethane liquid. Once it is injected beneath a slab, the two parts react and expand into a firm, closed-cell foam. Think of it as a controlled, precise version of the expanding foam that comes in a can, except this one is engineered to carry real structural loads. Four properties make it the right tool. It is lightweight, so it adds almost no burden to the soil below. It resists water, so moisture will not break it down or wash it out. It cures in minutes rather than days, so your driveway is usable almost right away. And it is genuinely structural, strong enough to hold the loads a slab takes day after day.
That last property is where it pulls ahead of the old approach. Mudjacking pumps a heavy cement slurry under the slab to raise it. All that added weight presses down on soil that is already failing, and the slurry itself can erode or wash out over the years, so you end up back where you started. Foam weighs a fraction of that and stays locked in place once it cures. On the clay-heavy ground we have across the valley, that difference in weight and durability is hard to ignore.
Why Our Soil Causes This in the First Place
Fraser Valley soils are clay-heavy, which means they swell when wet and shrink when dry. That constant back-and-forth movement opens voids beneath concrete, and those voids are what let a slab settle and crack. Add the freeze-thaw cycles we get through winter, where water works into the ground, freezes, expands, and thaws again, and you have conditions that are genuinely hard on flatwork. When we inject foam, its expansion pressure does the actual lifting. It works into every pocket of empty space, fills it, and pushes the slab back up to grade. Because closed-cell foam will not absorb water or compress under load, that new support stays where we put it instead of washing out a season later. You are fixing the cause, not chasing the symptom.
The Problems It Solves
The calls we get are remarkably consistent from one property to the next. Driveways that now tilt toward the garage door. Sidewalks that have sunk into a real trip hazard. Garage floors pulling away from the foundation wall. Patios that rock underfoot. Pool decks that have dropped an inch or more. Basement floors with gaps opening along the edges. An uneven driveway is our single most common job, but every one of these traces back to the same underlying issue.
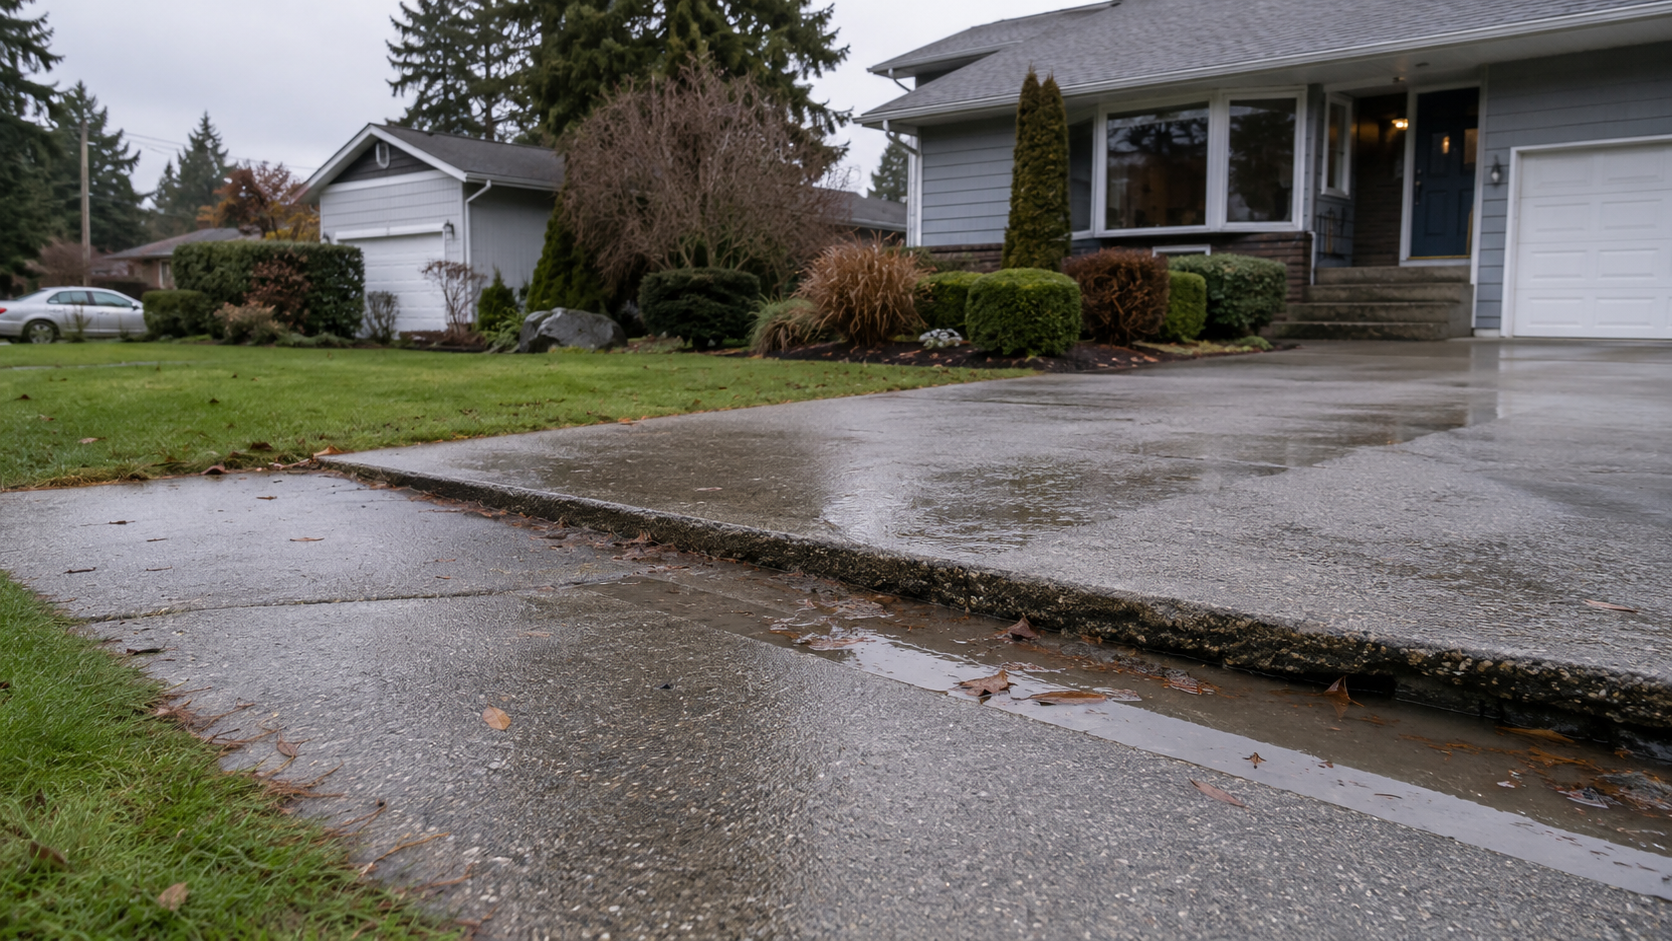
Here is the good news: in most cases your slab is still perfectly sound. The problem is what is happening beneath it. Water migration slowly washes out the base material that supports the concrete. Organic matter mixed into the original fill decomposes and leaves empty pockets. Poor compaction when the slab was first poured means the ground was never solid to begin with. Any of these creates a void, and once a void forms, gravity does the rest and drops the slab into it. Filling that space from below addresses the real cause. Chilliwack, Abbotsford, Mission, Langley, and the Hope area all share soil and moisture profiles that push this process along, and detached garages sitting on their own foundations are a particularly common trouble spot. If that is what you are dealing with, it is worth reading how we save a sunken garage floor instead of replacing it.
The method is not limited to one kind of slab, either. It works on nearly any interior or exterior concrete that has shifted or settled, from front walkways and steps to back patios, basement floors, and commercial warehouse slabs. Anywhere a slab is sound but sitting on a void, lifting it is usually an option.
How We Assess Your Concrete First
Before we drill a single hole, we walk the property with a clear process, because a good lift depends on understanding what is happening under the surface. It starts with reading the slab itself. Crack patterns tell a story. Hairline cracks usually mean minor settling, while wide, jagged fractures running in several directions can point to real structural trouble below. We check the separation between adjoining slabs, measure how far things have tilted, and feel across the surface for spalling and exposed aggregate.
Next comes void detection, which is one of the most telling steps. We tap the slab with a steel rod and listen. A solid, ringing tone means the concrete is sitting tight against its base. A hollow, drum-like sound means there is empty space underneath, where soil has washed out or pulled away. We mark those hollow zones and probe to map how far each void runs. Then we drill a few small test holes to measure the depth of the empty space and work out how much lift the slab actually needs. Those measurements tell us precisely how much material to use and where every injection point should sit.
This is also the step where we decide whether lifting is even the right call. A slab that has shattered into loose fragments, or one compromised by snapped or badly corroded rebar, is not a candidate, and we will tell you that plainly rather than sell you a repair that will not hold. A thorough assessment is how we make sure every dollar you spend goes toward something that lasts. If you want more on telling surface problems apart from deeper structural ones, see our post on the difference between a surface fix and a real repair.
The Restoration Process, Start to Finish
Once we know what is under the slab, the work itself is straightforward and wraps up faster than most people expect. We begin by marking a grid of injection ports on the concrete. Their placement is calculated from where the slab has settled and where the voids sit, not scattered at random. Then we drill the ports, usually just 5/8 inch across. The foam expands dramatically once it goes in, so a tiny hole delivers serious results while keeping the concrete strong around it and making the final patch nearly impossible to spot.
With the ports in, we connect the two-part foam system and inject in controlled passes, moving between ports and watching laser levels and grade references as the slab rises. This is where the craft really shows, because getting an even lift takes constant adjustment, not just pumping foam in and hoping. Once the slab reaches its target grade, we stop and let the foam cure in place, which takes only a few minutes.
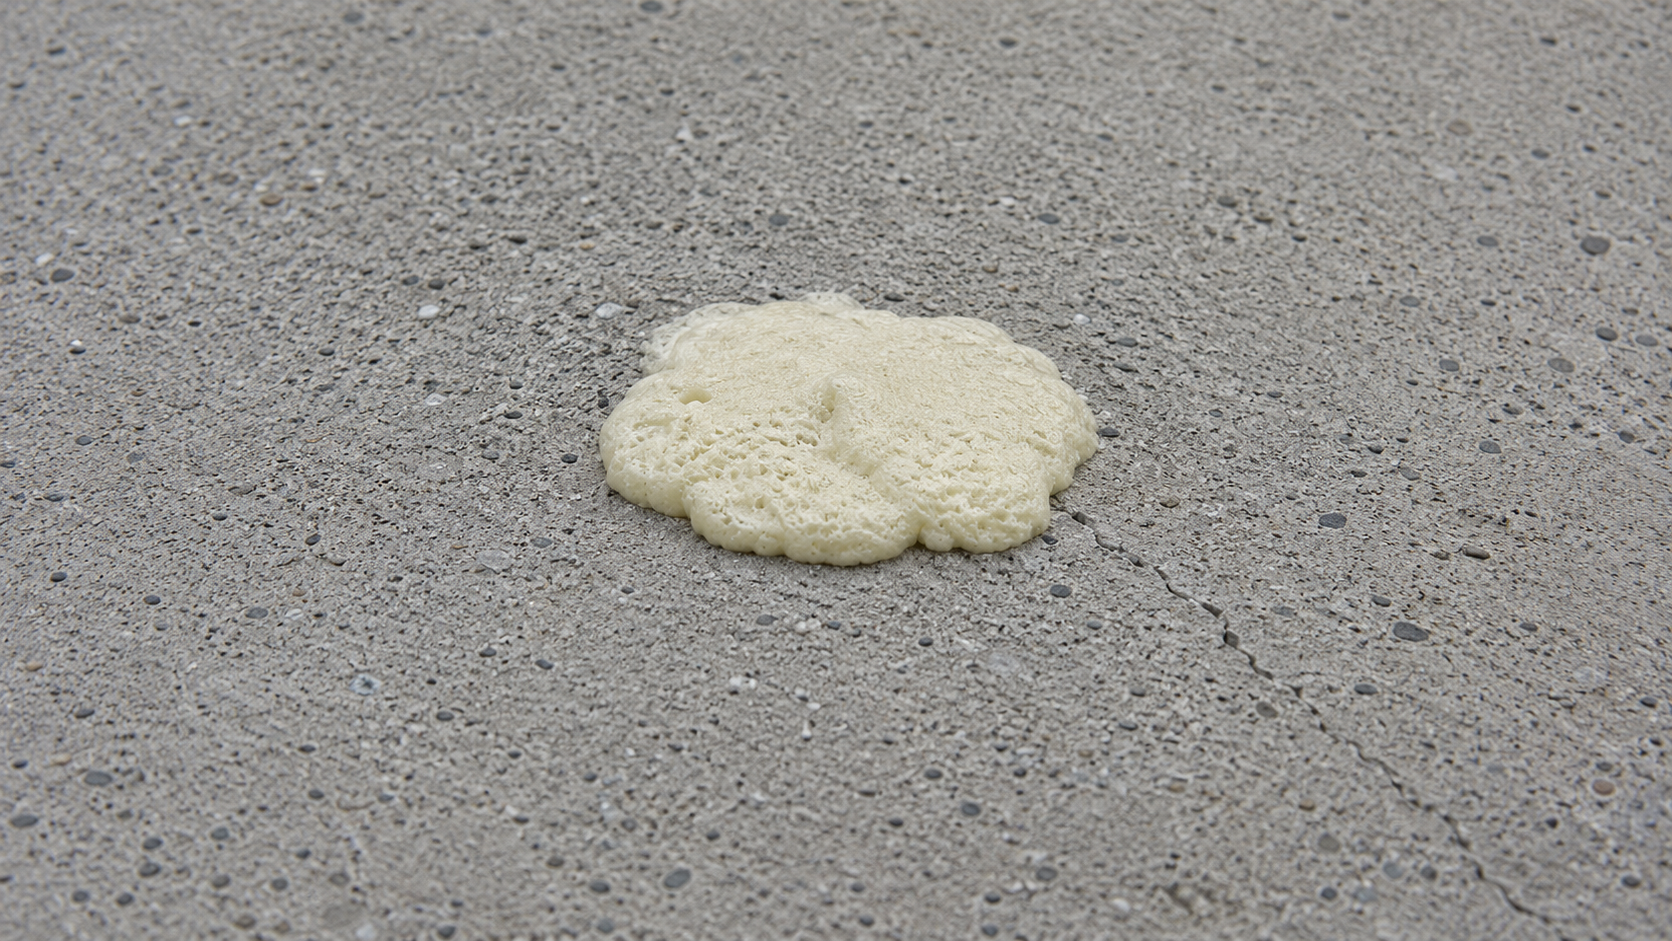
Finally we pull the ports and fill each hole with color-matched grout, so the surface looks finished rather than patched. Most homeowners are walking on it within the hour and driving on it the same day. We have had customers pull back into the driveway before we finished loading the truck. Compared with waiting a week for a poured repair to cure, that turnaround is the single biggest practical advantage over tear-out-and-repour work. For the full side-by-side, here is why polyurethane injection outperforms traditional repair methods.
Cost, Timing, and Whether Your Slab Qualifies
Every job is different, but lifting a slab typically runs a fraction of full replacement, often 50 to 70 percent less once you factor in demolition, disposal, and putting your landscaping back together. Most residential jobs are finished in a few hours. Your garden beds, irrigation lines, and existing concrete all stay where they are, and nothing heads to a landfill.
Fall tends to be the ideal window. Summer has drawn the soil moisture down, so the foam bonds and expands evenly, and getting the work done before winter means you skip another season of freeze-thaw quietly widening those voids and turning a simple repair into a bigger one. If you have a slab that rocks when you step on it, or a driveway that pools water where it never used to, that is your cue to have someone take a look before it gets worse.
Frequently Asked Questions
What is polyfoam grout and how does it lift sunken concrete?
Polyfoam grout is a two-part polyurethane liquid injected beneath a settled concrete slab through small drilled holes. Once injected, it reacts and expands into a firm, closed-cell foam that fills voids and lifts the slab back to its original grade. The material cures in minutes, resists water, and is strong enough to support the structural loads a driveway, patio, or garage floor faces every day.
How is polyfoam grout different from traditional mudjacking?
Mudjacking pumps a heavy cement slurry beneath the slab, which adds weight to already struggling soil and can erode or wash out over time. Polyurethane foam is a fraction of the weight, resists water, and won't shift or degrade once cured. For Fraser Valley homeowners dealing with clay-heavy soils and seasonal freeze-thaw cycles, that difference in long-term performance matters quite a bit.
How long does the polyfoam injection process take?
Most residential jobs, including a sunken patio, uneven driveway, or settled garage pad, are completed in a single afternoon. Because the foam cures within minutes of injection, the repaired surface is typically ready to use again almost immediately after the work is done. There's no waiting days for material to set, as there would be with traditional concrete replacement or mudjacking.
Will the foam hold up in the Fraser Valley's wet climate?
Yes. Closed-cell polyurethane foam is water-resistant by nature, so moisture won't break it down, wash it away, or cause it to compress over time. This makes it particularly well-suited to Fraser Valley conditions, where clay soils expand and contract with moisture changes and freeze-thaw cycles regularly create voids beneath concrete slabs.
Is polyfoam grout a good option for commercial concrete as well as residential?
Absolutely. Polyurethane injection is used on everything from residential driveways and walkways to commercial warehouse floors. The material delivers reliable compressive strength, making it a practical choice for void filling under concrete in any setting where load-bearing stability and minimal downtime both matter.
How do I know if my concrete is a good candidate for polyfoam restoration rather than full replacement?
If your slabs are structurally sound but have settled, dropped, or developed gaps because of soil voids underneath, polyfoam grout concrete restoration is often far less disruptive and more cost-effective than tearing everything out. A site assessment is the best way to know for certain. A qualified contractor can look at the condition of the slabs and the soil beneath them before recommending a course of action.
Settled concrete is a common problem across the Fraser Valley, but it rarely requires the disruption of a full replacement. Polyfoam grout restoration offers a faster, longer-lasting fix that works with local soil and weather conditions rather than against them. If you're ready to find out whether your slabs are a good candidate, reach out to Black Birch Contracting and we'll walk you through your options.